
When you mention pickling, onions and cucumbers are usually the first things that come to mind.
The truth is that any vegetable can be pickled, and every pickle is different and unique.
Like Dave’s Sweet and Spicy Pickles and Cava’s pickled onions, each has its own rich flavor and has earned a special place among pickle lovers.
Cava has a large menu, and one recipe that caught my attention is their pickled onions. You don’t need to visit the restaurant every time to enjoy them.
Truth be told, they’re so much easier to make at home and cost a fraction of the price you’d pay at the restaurant.
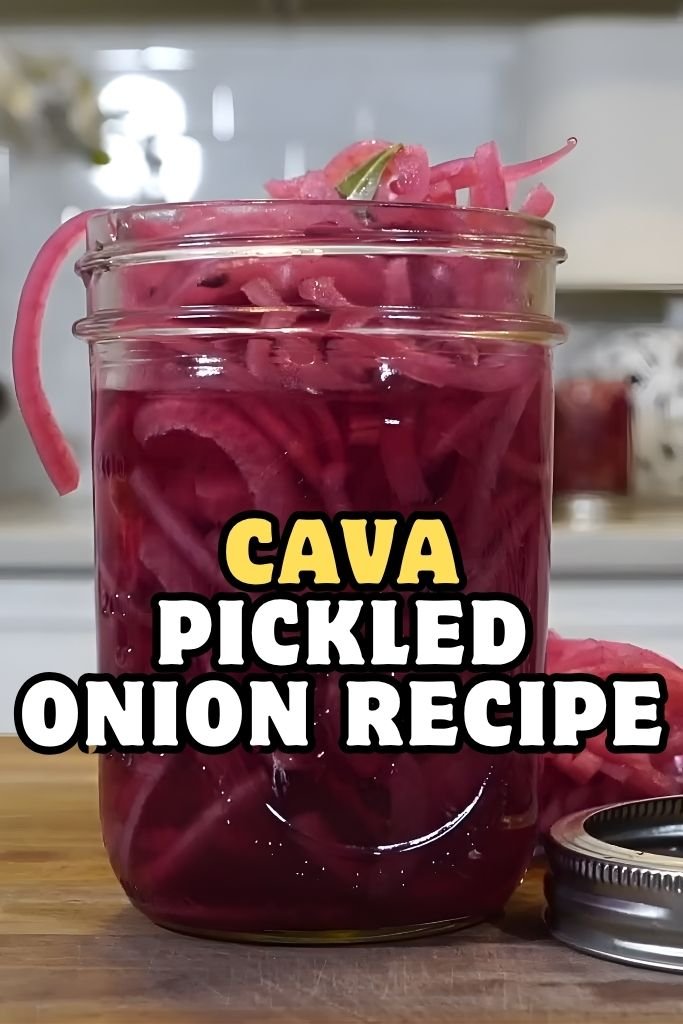
Onions are easy to find, and if you have too many, you can make the same flavorful Cava Pickled Onion Recipe at home.
Just slice them up, use some simple ingredients, and pack them into canning jars, and your all-time favorite Cava pickled onions are ready to enjoy.
What Kind of Pickles Does Cava Use
Cava uses salt-brined pickles in most of their menu items. Salt-brined pickles are made using a simple method that brings out natural flavors.
The pickled onions at Cava get their bright color and sharp taste from this simple brining method.
The salt helps keep the onions crisp while the vinegar adds that tangy kick.
This same method works great at home. You can make pickled onions that taste just like the ones from Cava using basic kitchen items you already have.
How to Choose the Best Onion for This Pickles
- Always use red onions: Always use red onions because they give that bright pink color and mild bite. The red color turns into a beautiful pink shade once the onions soak in the brine. This makes your pickles look as good as they taste.
- Pick firm onions: Choose onions that feel heavy and firm with dry skin. Avoid any that have soft spots or moisture. When you hold an onion, it should feel solid in your hand—soft areas mean it’s old and won’t pickle well.
- Go for medium-sized onions: Medium-sized onions slice more evenly than large ones. Big onions tend to have thicker rings that don’t pickle as evenly. A medium onion gives you perfect, even slices every time.
- Avoid strong-smelling or sprouted onions: Strong smells or green shoots on top are signs the onion is past its prime. Fresh onions pickle better, stay crisp longer, and keep that perfect crunch in the brine for weeks.
Cava Pickled Onion Ingredients
- Red Onions (2 medium-sized) – Red onions are the base of this recipe. You can use white onions instead, but they won’t have the same pink shade. White onions taste a bit sharper too.
- Red Wine Vinegar (1 cup) – This gives the pickles their tangy taste. Red wine vinegar also helps keep that pink color bright. You can swap this for apple cider vinegar or white vinegar. Just know that white vinegar will make the color lighter. Apple cider vinegar adds a slightly sweet note.
- Water (1/2 cup) – Water helps mellow out the vinegar so it’s not too harsh. Some people like stronger pickles and use less water.
- Sugar (2 tablespoons) – Sugar balances the sour vinegar taste. It makes the pickles taste sweet and sour together. You can use honey or maple syrup instead.
- Kosher Salt (1 teaspoon) – Salt helps preserve the onions and brings out their flavor. Kosher salt is best because it has no extra chemicals. You can use sea salt or table salt.
- Cumin Seeds (1 teaspoon, whole) – These seeds add a warm taste. They give the pickles that special Cava flavor. You can use coriander seeds instead or use both together. Ground cumin works too, but use only half the amount.
- Bay Leaf (1 leaf) – Bay leaf adds a subtle herby note. It makes the pickles taste more complex. You can skip this item completely. The pickles will still taste great without it.
- Garlic (1 clove) – Garlic adds a savory touch to the brine. It makes the flavor more rounded. You can use 2 cloves for more garlic taste. Garlic powder doesn’t work as well here.
Equipment Needed
- Mason Jar (1 pint size) – Clean and dry
- Small Pot – For heating brine
- Chef’s Knife – Sharp for slicing
- Cutting Board – Stable surface
- Small Dry Pan – For toasting seeds
- Measuring Cups – For liquids
- Measuring Spoons – For dry ingredients
- Kitchen Towel – For handling hot items
How to Make Cava Pickled Onion
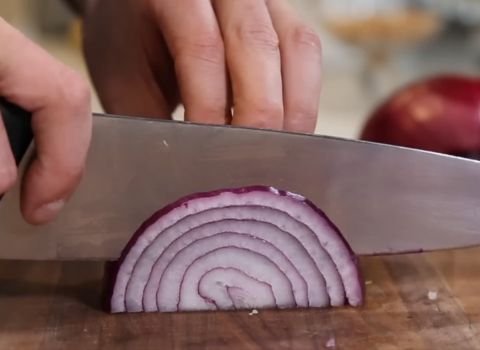
Step 1 | Slice the Onions
Peel the red onion and trim off both ends. Slice it in half, then cut thin half-moon slices about ⅛ inch thick.
Thin slices soak up flavor faster and look better in jars. A sharp knife works great, but a mandoline can also be used carefully.
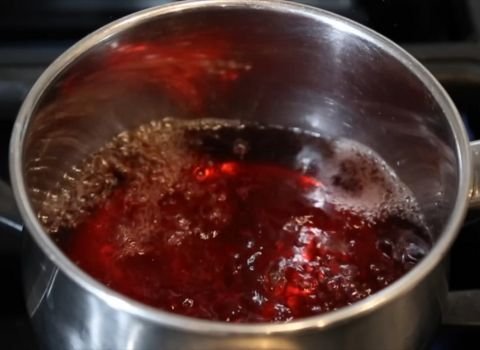
Step 2 | Prepare the Brine
In a small saucepan, combine red wine vinegar, water, sugar, and salt. Stir until the sugar and salt completely dissolve.
Place the pan over medium heat and bring it just to a simmer – no need for a hard boil. Once it starts to steam and bubble lightly, remove it from the heat.
Step 3 | Add Flavorings
While the brine is still hot, add the bay leaf, smashed garlic clove, and cumin seeds. Stir gently and let it sit for a minute or two so the flavors can blend into the liquid.
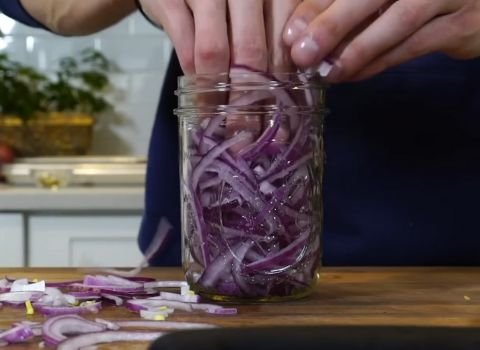
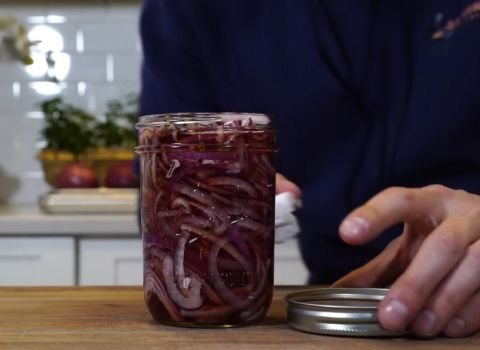
Step 4 | Fill the Jar
Pack the sliced onions tightly into a clean glass jar. A pint-sized jar usually fits about one large onion.
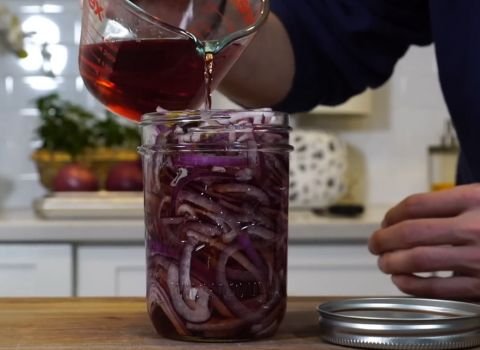
Step 5 | Pour the Brine
Carefully pour the warm brine over the onions, making sure they’re fully covered.
Use a spoon to press the onions down so there are no air gaps. If the liquid doesn’t reach the top, add a little more vinegar or water.
Step 6 | Cool and Seal
Let the jar cool at room temperature. Once cooled, seal it tightly with a lid.
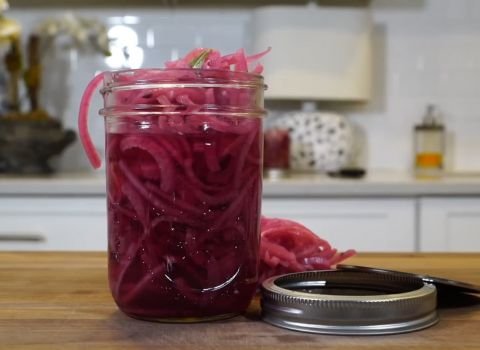
Step 7 | Refrigerate
Place the jar in the fridge and let it rest for at least 2 hours before using.
For the best color and flavor, wait 24 hours. The onions will turn beautifully pink as they soak up the brine.
Tips for Restaurant-Style Cava Pickled Onions at Home
- Keep the Onions Submerged: Always make sure the onions stay under the brine. If they float, they can soften or spoil. Use a clean fork to press them down each time you open the jar.
- Toast Your Spices First: Lightly toast the cumin seeds before adding them to the brine. This simple step brings out their natural oils and deepens the flavor — just a minute in a dry pan makes a big difference.
- Let Them Rest Long Enough: Even though the onions taste good after a few hours, they’re best after two to three days. This extra time helps the flavor develop and gives them that bright pink color and tangy bite.
- Use Clean Utensils Every Time: Always use a clean spoon or fork when taking onions out of the jar. It helps prevent bacteria from getting in and keeps your pickled onions fresh longer.
What to Serve With This Pickled Onions
These pickled onions go well with so many dishes.
Put them on top of tacos for a bright burst of flavor that cuts through rich meats. They’re perfect on grain bowls, especially ones with rice, beans, and grilled vegetables.
Add them to sandwiches and burgers for extra crunch and tang. They taste great on top of grilled chicken, steak, or fish. The acid helps balance out fatty foods.
Try them on avocado toast for breakfast. They add a nice punch to scrambled eggs too.
Use them in salads instead of raw onions for a milder taste.
They even taste good mixed into potato salad or coleslaw.
Storage & Shelf Life
Store the pickled onions in a sealed jar in the refrigerator. Always keep the onions completely covered with the brine so they stay crisp and safe to eat.
They stay good for up to two weeks, sometimes longer if kept cold and undisturbed.
Over time, they may lose their crunch or turn slightly dull in color – that’s a sign it’s time to make a new batch.
Always use clean utensils to remove onions from the jar to avoid contamination.
Never double-dip or touch the brine with unwashed hands.
Cava Pickled Onion Recipe FAQs
1. Can I pickle other vegetables with the same brine?
Yes, the same brine works for cucumbers, carrots, radishes, or cabbage. Just cut them thin so they pickle evenly.
2. Why didn’t my onions turn pink?
The pink color comes from the red onion skins reacting with the acidic vinegar. If your onions are very pale, they might have been an extra-mild variety.
Using red wine vinegar helps a lot with the color. For a very deep, vibrant pink, try adding a small slice of raw red beet to the jar with your onions.
3. Can I reuse the brine?
I do not suggest reusing the brine for a new batch of onions. The brine becomes less acidic and flavorful after the first use. It will not pickle new onions well.
Also, it can pick up bacteria from the first batch.
4. Can I skip the sugar?
Yes, you can leave out the sugar. The onions will be more sour and sharp. The sugar is there to balance the vinegar’s tang. If you cannot have sugar, you can use a different sweetener like honey.
5. Why are my onions soft instead of crisp?
Soft onions can happen for a couple of reasons. The onions might have been old or not very fresh to start with. Always pick firm, heavy onions.
Another reason is that the brine was boiling when poured over the onions. Very hot liquid can cook the onions, making them soft.
Just heat the brine until the salt and sugar dissolve; it does not need to boil.
6. How long until the onions are ready to eat?
You can taste them after about 8 hours, but they are much better if you wait longer. The flavor is best after they sit in the fridge for at least 24 hours.
This gives the onions time to absorb the brine and become less sharp.
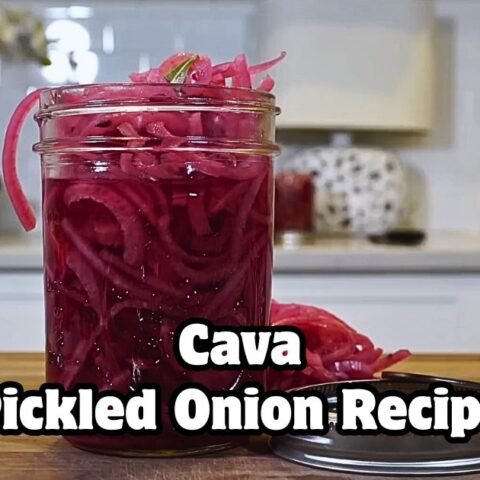
Cava Pickled Onion Recipe
This viral Cava Pickled Onion Recipe takes just 15 minutes — it’s shockingly simple and insanely flavorful!
Ingredients
- Red Onions: 2 medium-sized (about 2 cups sliced)
- Red Wine Vinegar: 1 cup
- Water: ½ cup
- Sugar: 2 tablespoons
- Kosher Salt: 1 teaspoon
- Cumin Seeds: 1 teaspoon (whole)
- Bay Leaf: 1 leaf
- Garlic: 1 clove, smashed
Instructions
- Peel the red onion and trim off both ends. Slice it in half, then cut thin half-moon slices about ⅛ inch thick. Thin slices soak up flavor faster and look better in jars. A sharp knife works great, but a mandoline can also be used carefully.
- In a small saucepan, combine red wine vinegar, water, sugar, and salt. Stir until the sugar and salt completely dissolve. Place the pan over medium heat and bring it just to a simmer — no need for a hard boil. Once it starts to steam and bubble lightly, remove it from the heat.
- While the brine is still hot, add the bay leaf, smashed garlic clove, and cumin seeds. Stir gently and let it sit for a minute or two so the flavors can blend into the liquid.
- Pack the sliced onions tightly into a clean glass jar. A pint-sized jar usually fits about one large onion.
- Carefully pour the warm brine over the onions, making sure they’re fully covered. Use a spoon to press the onions down so there are no air gaps. If the liquid doesn’t reach the top, add a little more vinegar or water.
- Let the jar cool at room temperature. Once cooled, seal it tightly with a lid.
- Place the jar in the fridge and let it rest for at least 2 hours before using. For the best color and flavor, wait 24 hours. The onions will turn beautifully pink as they soak up the brine.
Nutrition Information:
Serving Size: (Per Serving — about 2 tablespoons)Amount Per Serving: Calories: 22Saturated Fat: 118gSodium: 118mgCarbohydrates: 5.1gFiber: .4gSugar: 4.4gProtein: .2g
This Cava pickled onion recipe is simple, bright, and full of flavor. With fresh red onions, a few kitchen basics, and a bit of patience, you can bring that same tangy taste home.
Remember to slice evenly, use clean jars, and let the onions rest in the fridge before tasting.
Try it soon, share how it went, and leave a comment to tell me your favorite way to use them.